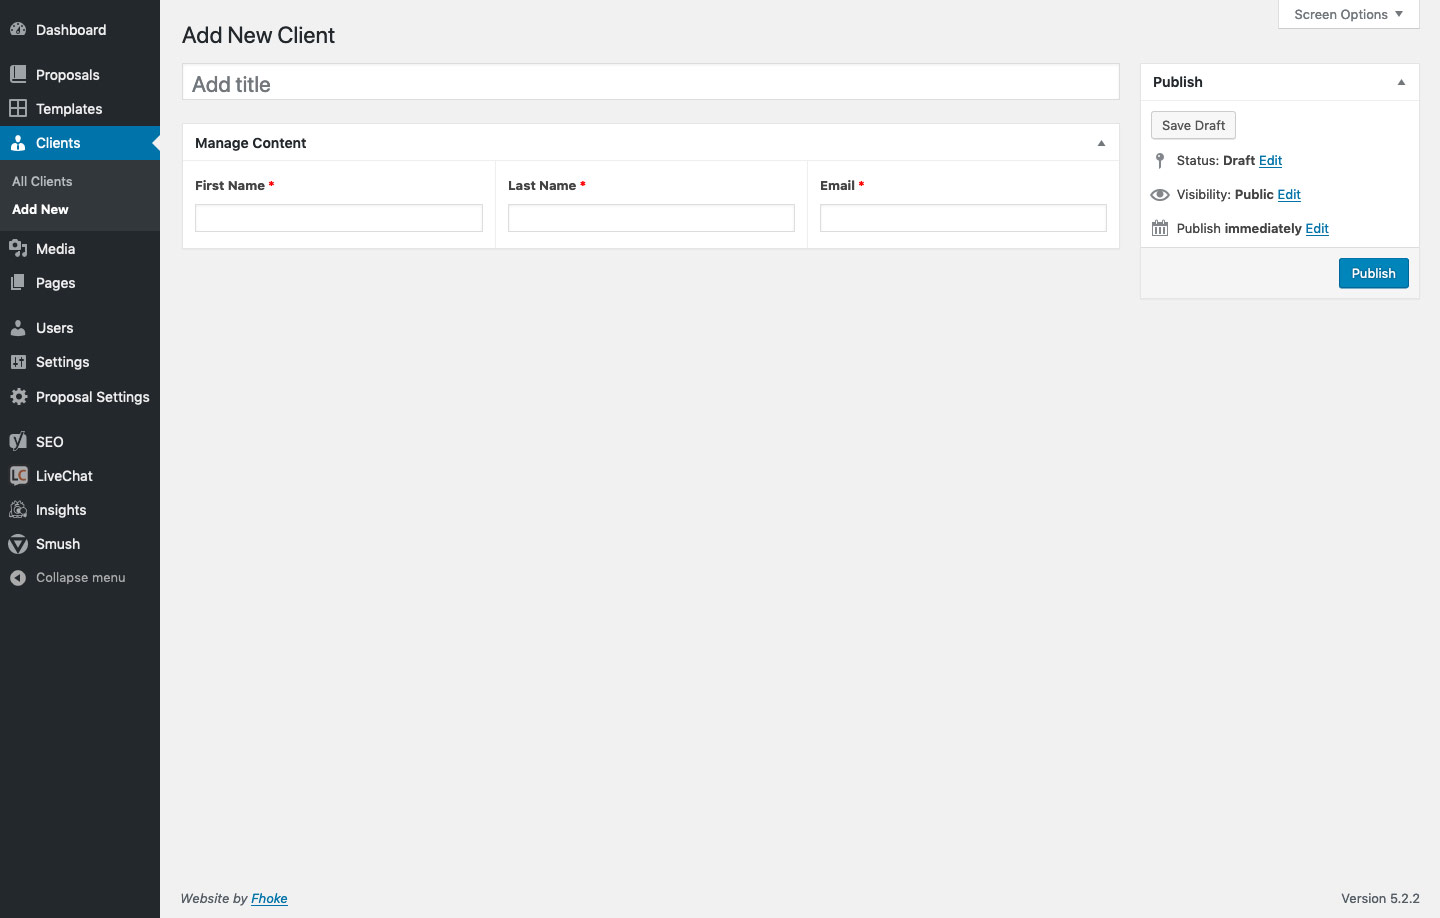
Creating Clients helps to organise your contacts in a central location. It also means that when you create a proposal you can assign a Client to one.
In this article, you’ll learn how to create or edit a Client.
Things to Know
- Clients, Templates, and Proposals are the main tools you’ll find in Proper Proposals.
- Clients must be set-up first in order to create a Proposal. Once a Client is created you will be able to send Proposals, updates, and requests to them directly.
Create a Client
When you create a Client, you’ll be prompted to input default information for the company’s name and main contact, this includes the person’s first and last names and email address.
To create a New Client in your Proposals account, follow these steps.
- Navigate to the Clients page to the left of your Dashboard.
- Click the Add New button.

If you already have a list of Clients you can click the Title of that client to Edit. - On the next screen, you will be able to enter the details for a Client. Start by adding the name of a Client in the Add Title field.
- Enter the rest of the Clients details in the remaining fields.
- When you’ve finished, click Publish or Update.
After you’ve created a Client, you will be able to add them to a Proposal. Their details will be used to push updates and requests to.
Edit or Delete a Client
To edit a Client, follow these steps.
- Navigate to the Clients page to the left of your Dashboard.
- If you have created Clients already you will be presented with a list of these.
- Hover over the title of the Client you wish to edit and you will be presented with a set of links:

a. Edit – click to edit
b. Quick Edit – click to quickly edit the title and published status of that client
c. Bin – click to delete
When you’ve finished editing your Client, click Update.
Next Steps
Now that you’ve created a Client it’s time to Create a Template.
